

It's Spring time now in western countries and I honestly envy you guys having to experience spring season; since here in the Philippines, we only got two seasons, unfortunately. But I still love living in the tropics, though.
Right now, it's summer time here and my Mum's flowers are blooming beautifully under the sun and I have the urge to put flowers next to my bed or on my dresser. However, I'm feeling lazy changing flowers over and over again as soon as it withers. With that, I decided to make my own paper roses instead so that I won't have to change it every time. (Yeah, I know, I'm one lazy bum. Shhhh.)


Upon looking for materials to be used, I figured I will share to you how I made my paper roses on twigs.
And the first thing you should do is to look for some twigs. This is where you will you put your paper roses on.

Choose whatever colour you prefer to use as petals. As for me, I opted for light pinkish lavender.

I then cut it in strips. It depends on you on how big you would like your roses to become. I prefer bigger petals, so I cut it in a wider width.

Since my strips are short, I used double sided tape to attach each sides to make it longer.
Tip: Make your strips longer to acquire that rose-look effect because if your strips are short, you won't get that same result.
Another Tip: Here, I used coloured paper because I ran out crepe paper, but to make it appear more natural and light, I suggest you opt for crepe paper.


The process:
Fold the end of the strip to make a triangle. Then, fold it diagonally on the left to make a scalene triangle. After that, insert the twig inside the folded paper and make sure that the tip of the twig is at the point of the triangle. (Triangle redundancy.)

Next, fold in the other side and roll it twice leftward. After you roll it, fold it again diagonally.

Just continue the steps above (roll twice and fold diagonally, roll twice and fold diagonally and so on and so forth) until you reach your desired size of the paper rose. Then just secure the end of the rose by putting glue on it.
In case you find this hard or confusing (which I am expecting about, lol), you can watch this video to help you out with the process. It's not exactly the same process with mine on the first part but I guess it will do just the same.

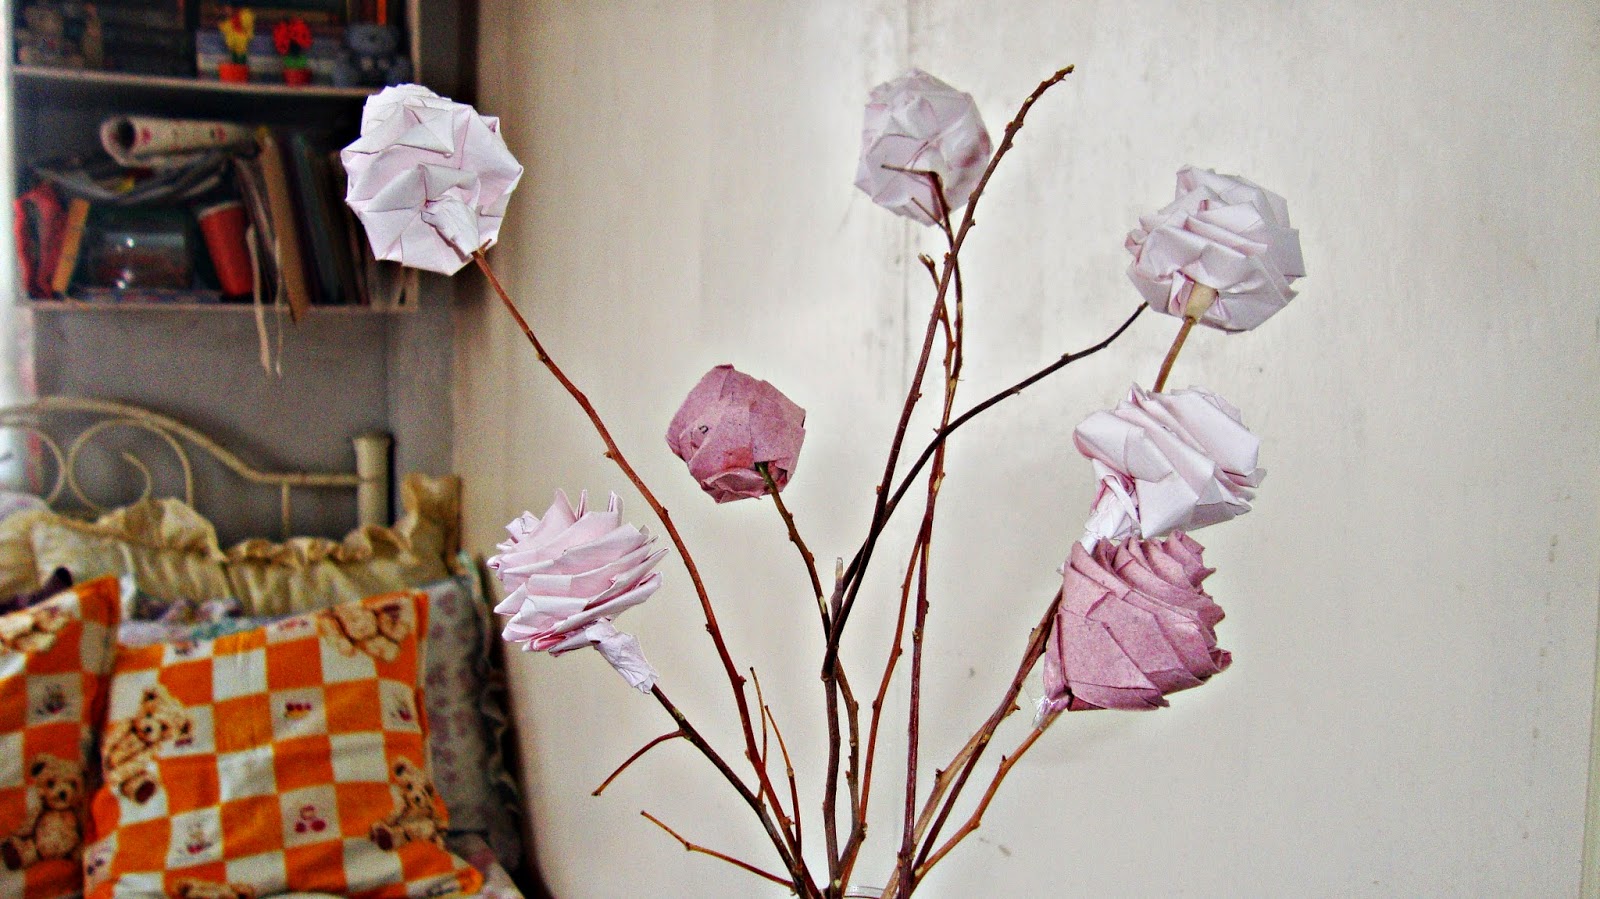
And, tadaaaah!! The paper rose on a twig!!

Then put your flowers in a glass bottle to make it look vintagey and unique. You can put any designs or whatever artsy crafts like ribbons on the bottle. :)


I hope you like it. Please leave a comment of how you think of this tutorial.
PS: Please bear with my nailpolish. I know it's chipped. I haven't cleaned and changed it, for like, days. Hahaha. I'll changed it, don't worry. :)
Wow these look amazing! I love origami but I don't like having real flowers as they're so much hassle. I'm definitely going to give this a go over the weekend.
ReplyDeleteIAmLinderella.blogspot.co.uk
Hi. Thank you! Go give it a try and send me a photo of how it looks. :)
Deleteaww, this looks so nice! definitely need to try this out :)
ReplyDeleteThank you! :)
Delete